Triskele Paper Globes
Another
simple WOW factor craft!! These 3d paper globes look amazing and will be great
to have as decoration for Christmas
I got the original
Idea from Hattifant and made my own template. All you need is paper, pencil,
ruler, scissors and colouring pens.
In the first
step just copy this template.
You need to
draw 3 rectangles about 27cm by 5.5cm (add another 1cm for joining at an end)
Now I used a large mug and traced around its edge to make these half moons
evenly space on the rectangles.
For the best
effect colour in all the half moons the same way
Now colour
in the backgrounds in a matching way
Then cut out
the 3 rectangles
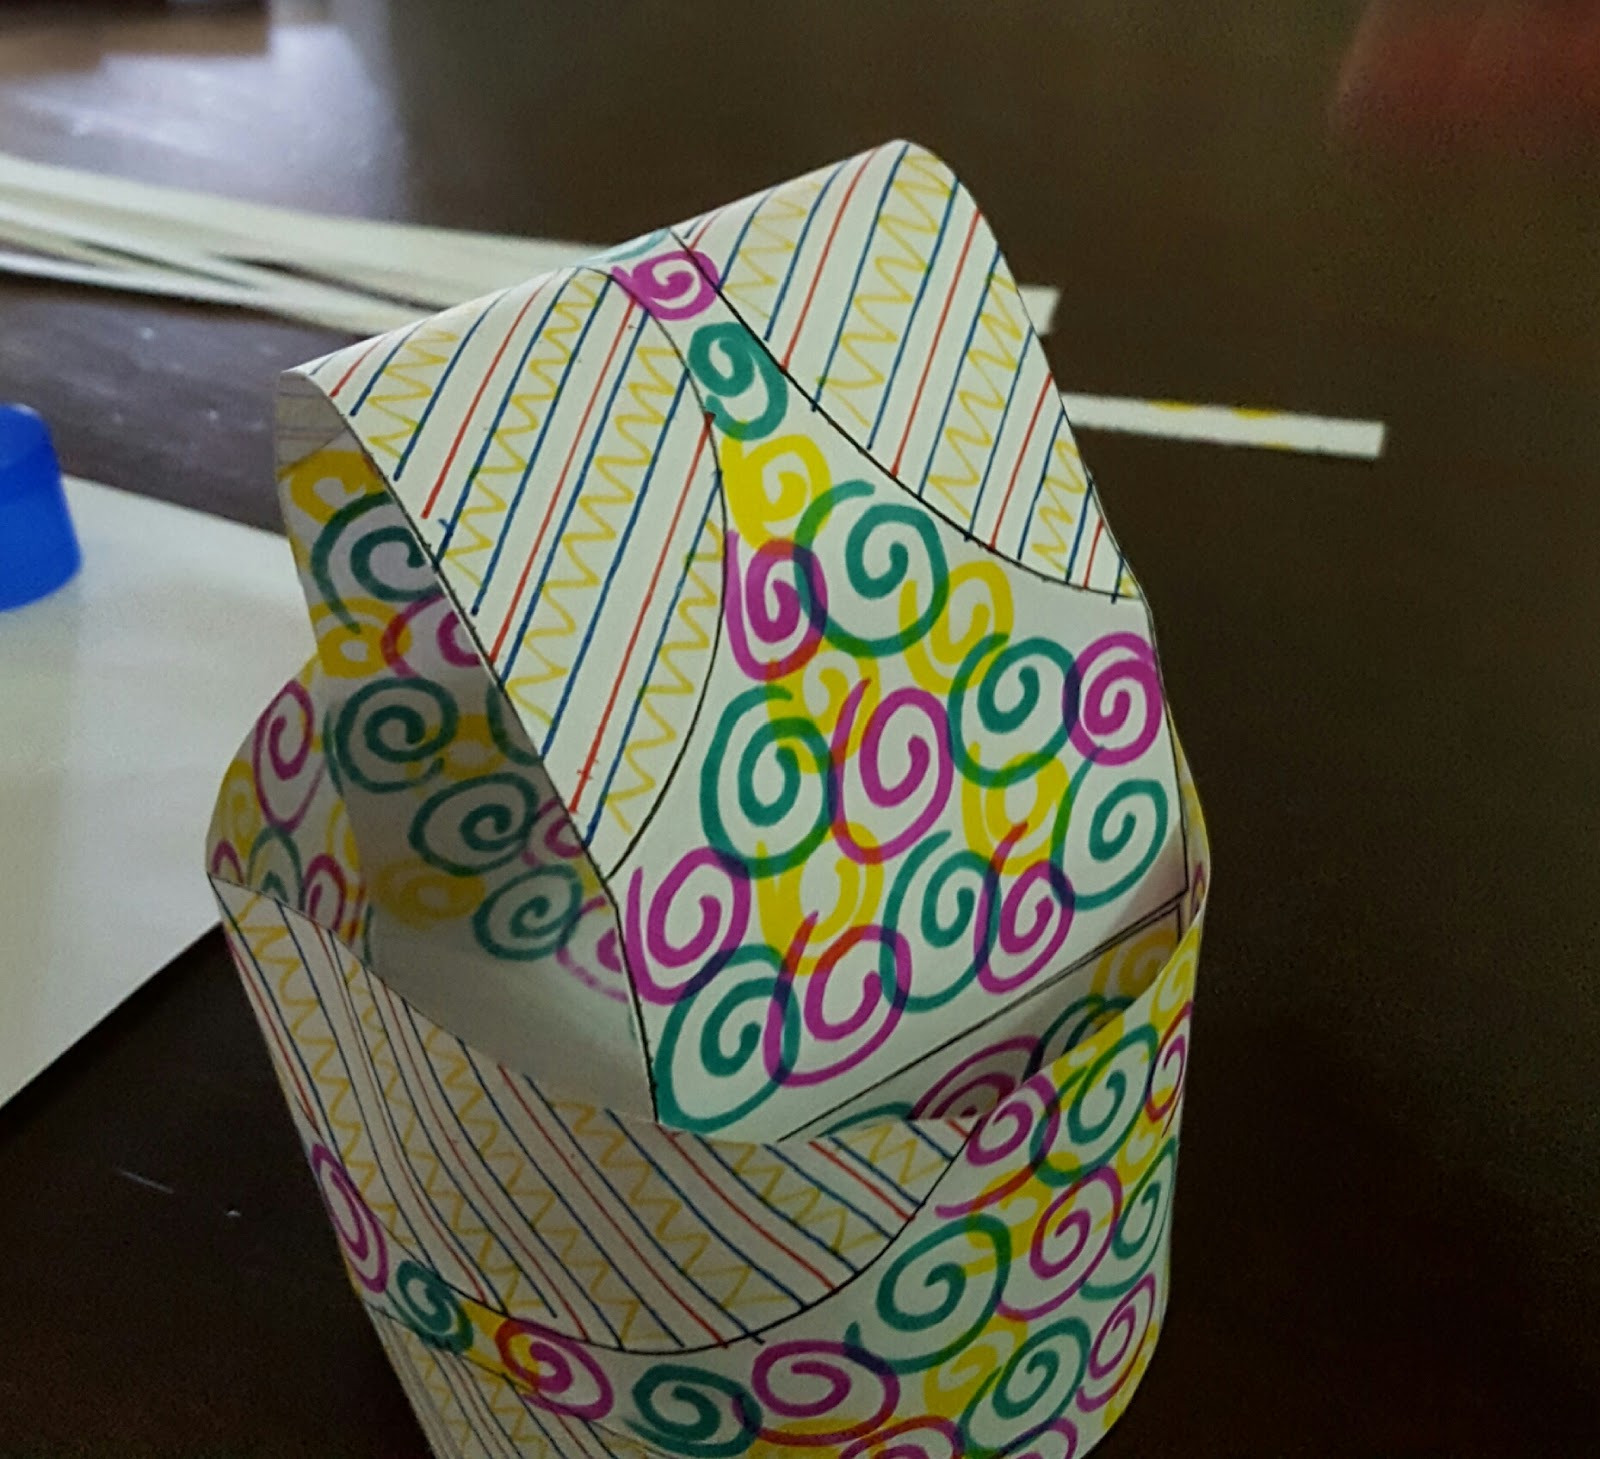
With this
next step gentle and slowly fold along the lines of the half moons.
After all
the half moons are folded, flatten them out then glue 2 of the rectangles into
rings
Place one
ring into the centre of the other
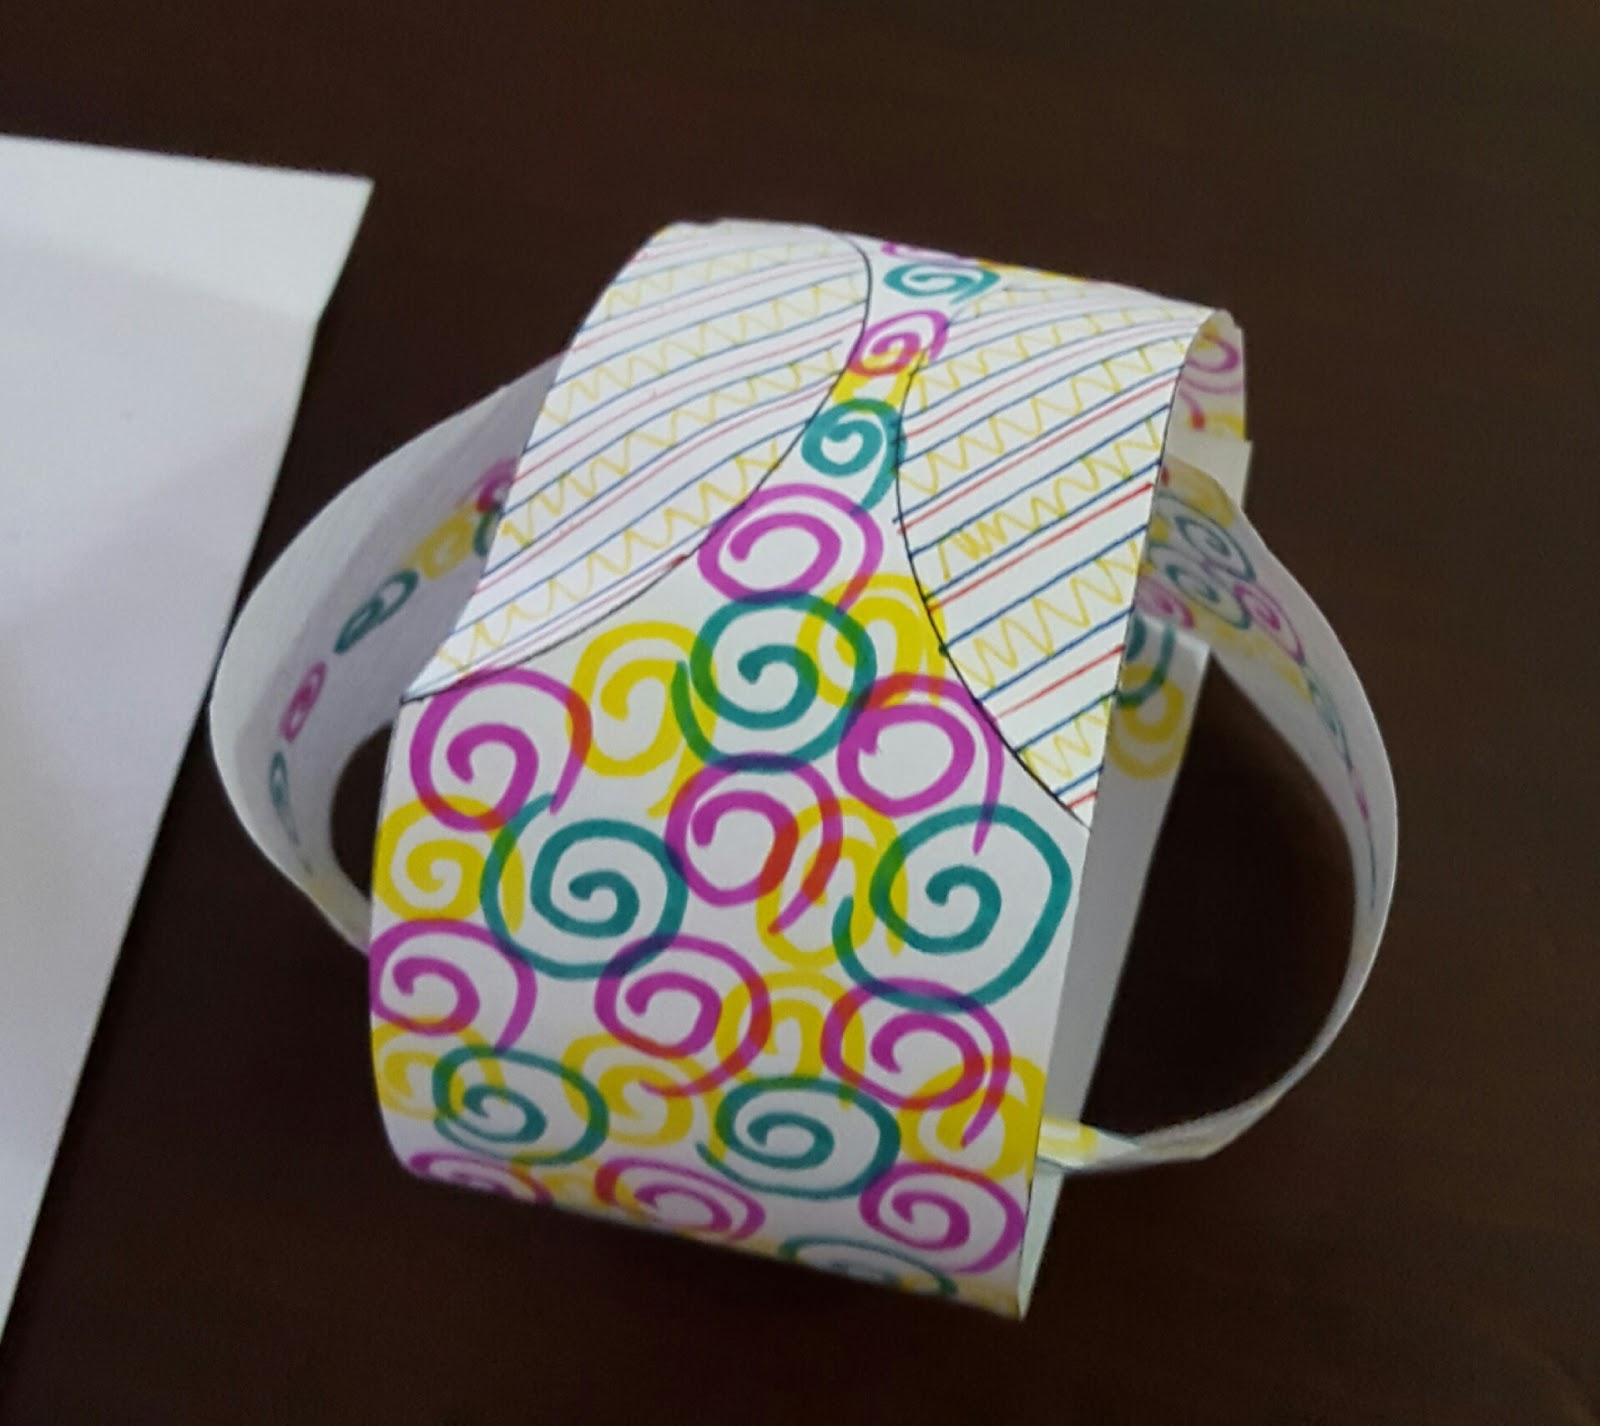
With the
third rectangle place one end into the top gap of the inside ring
Now fold
over and place the other end into the bottem gap of the inside ring
Pull the
ends through to the other side
Then glue
the ends together
It should
look like this
Slowly work
the rings around so all the half moons are showing to the front
In the final
step just gentle push in all the prefolded half moons!!
DONE!!
How great do
they look!!
P.S. you could even make these with wrapping paper
to save colouring in