Book Page Folding
This is not
a hard thing to do, time consuming maybe but not hard!!
This is a
great gift idea as you can personalize the word or image to suit anyone!!
The first
thing I did was to print out the word and size I wanted on some graph paper.
Then counted
how many pages I needed. You don’t need to leave any pages/spaces between each
letter. Some letters like ‘s’ ‘c’ ‘b’ etc you need extra pages as each page you
only fold once and when there is a part of the letter (vertically) top and bottom
in the same line you use two pages. With a ‘B’ you even need 3 pages per line
at some parts!!
E.g. with this ‘B’ alone you need 79 pages to
fold. As you start folding it will all make more sense.
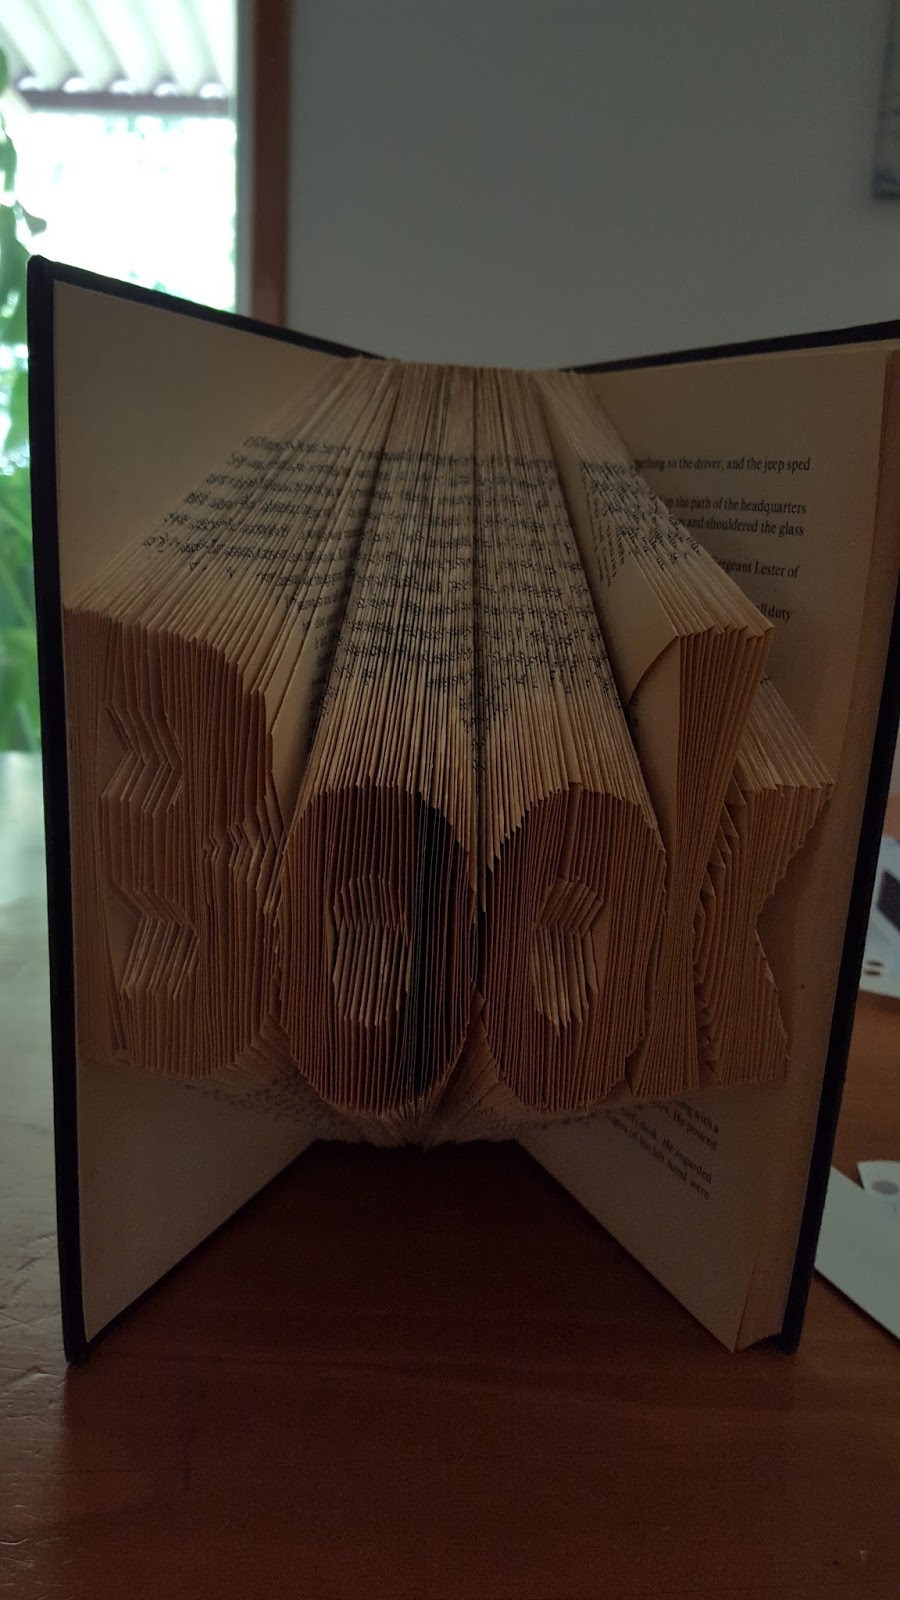
For this
word ‘Books’ I needed to fold 320 pages so the book I got had 640 numbered
pages (as every page has a numbers on both sides!!)
Now the easy
bit!! You need a pencil, ruler and book with enough pages.
On the first
page place the ruler as close to the spine as possible and lightly mark the
page at the top and bottom.
Slip in the
graph paper until the edge of the ‘B’, making sure that you line up the top of
the page with the top of the graph paper.
Again
slightly mark where the top and bottom of the letter ‘B’ is with pencil on the first page.
Remove the
graph paper and mark your spot on it too!!
Now match
top two top marks (top of page near the spine and top of the ‘B’) with the
ruler and fold
Repeat to
the bottom two marks. Frist page done!!
I used a
bulldog clip to keep the pages out of my way.
Keep doing
the above steps of marking (both near the spine and the letter) and folding,
don’t forget to mark your place on the ‘B’ template so you can keep track of
where you are up to.
When you get
to the busy bit of the ‘B’ you will need to fold 3 pages per vertical line
This is what
the ‘B’ looks like when finished
Slowly work
your way through the word and book.
When I got
to the end I still had some pages left over (the book had more than 640 pages) so I folded a little heart in the
top corner. You could also neatly remove some pages if need be.
HOW COOL ARE THESE !!