ORIGAMI BOWTIES
Serena had
one of her BFF (Sophie Baker) over for the night. As per usual we did craft!!
These paper
bowties aren’t that hard to make. I hope you understand my instruction, if not
just follow the pictures
(Please
excuse the girls makeup as they had a lovely time applying it!!)
To start you
need a square piece of paper. Fold it length ways, unfold then fold it
lengthways on the other side.
Fold it
corner to corner (both sides)
Open it up
and it should look like this
Now this is
hard to explain!! Fold/push opposite corners into the middle. Then flatten. You
should have a diamond shape now.
Place the
diamond shape down with the open end facing away from you. Fold a little
section of the bottom point up, unfold it and flip over to do again so that
there is a really sharp line.
Open up the
whole piece of paper. It should now look like this.
With this
step the creases of the little centre square corners fold out, push the centre
crease on opposite side in.
It should
now look like this.
At the
straight end fold the edge up so the flat end lines up with the centre line. Do
this with both sides.
Flip over
and repeat
Carefully grab the two corners and open slowly.
The centre
should look like this. Gently flatten it out.
Flip over
and neatly cut along the folded lines. All 4 of them.
Fold one
newly cut square over onto the top of the other one.
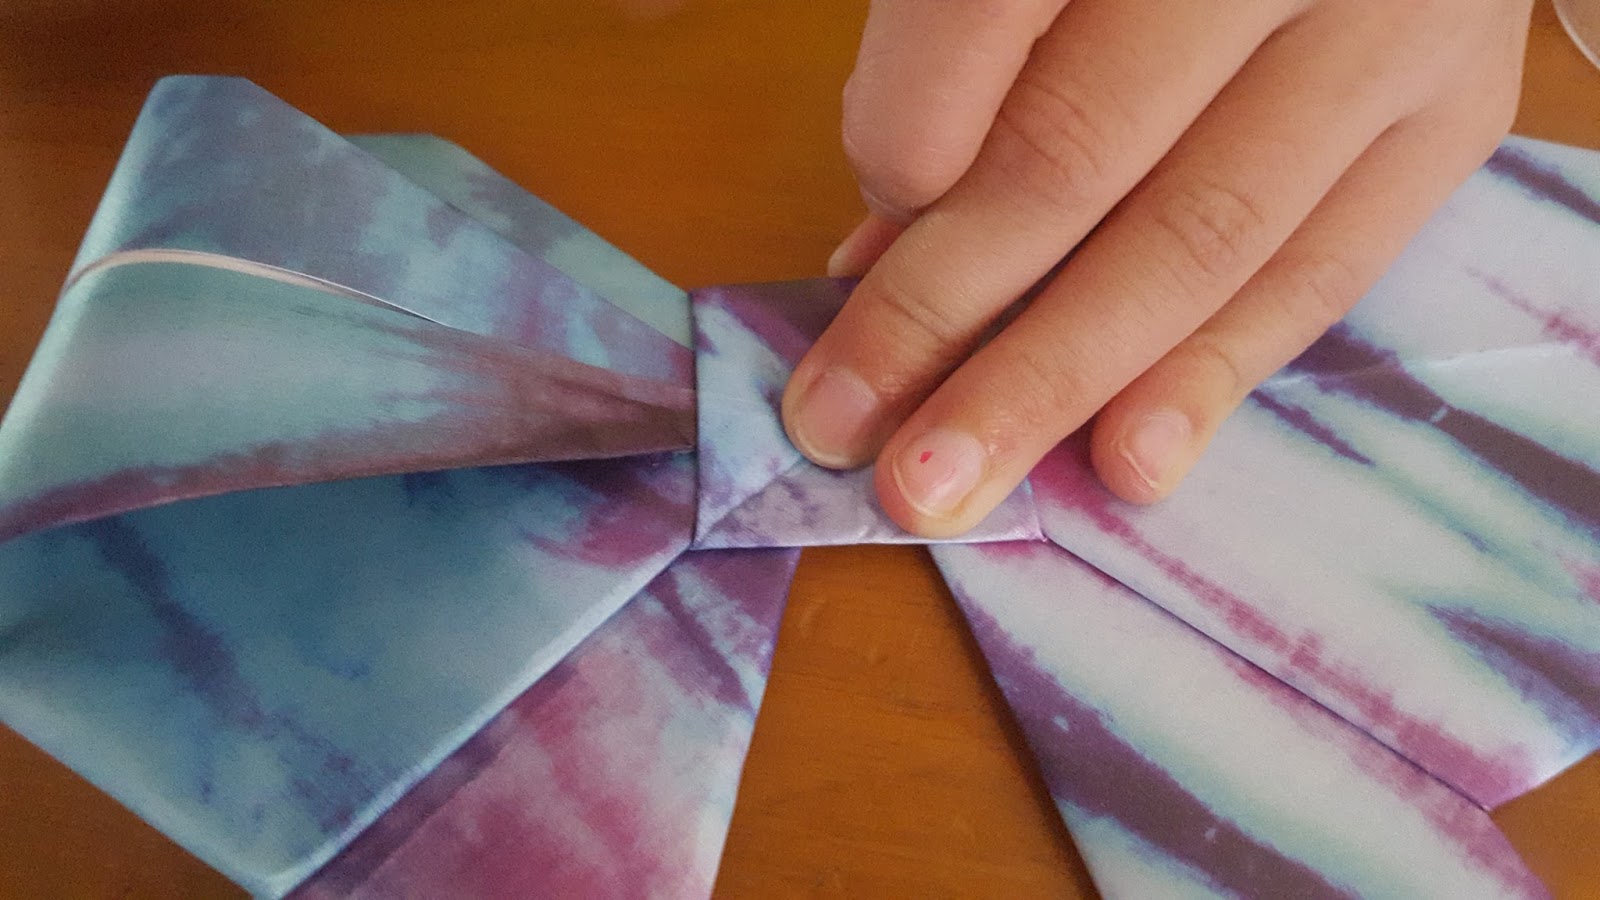
We are now
going to fold the bottom shape edge to the middle line, flip the top 2 squares
over again and repeat folding the bottom edge to the middle.
Repeat on other bottom
side.
It should now
look like this.
Using the
scissors cut along the centre fold of the square to almost the middle of the
bowtie.
Fold the
newly cut edges over to make them look like the bowties ribbon lengths that
hang down.
Flip over
and neatly cut the ends.
It should
look like this
Nearly
finished!!
Now put a
little glue onto the point of the bow bit and gentle bend over into the centre.
(Under the little square) We place a peg onto it to keep it in place until it
dried. Repeat on the other side.
Ta Da !!
Custom made
bowties for all occasions!!