Monday 28 December 2015

Hanging Glow Jars


Hanging Glow Jars
While on holidays I found these Glow Mason Jar in Kmart for $5 and just couldn’t resist on buying one!!
Serena and I made it into a hanging Glow Jar so sitting outside of the caravan will be ‘so much better’ at night.

What we used was some cotton twine and did macramé around the Mason jar.

You need to cut 5 lots of twine eight times the length of the jar, now tie them together in the middle. You should have 10 loose lengths of twine. 

Pair up the lengths of twine and tie each of them together about 2cm from the centre knot.
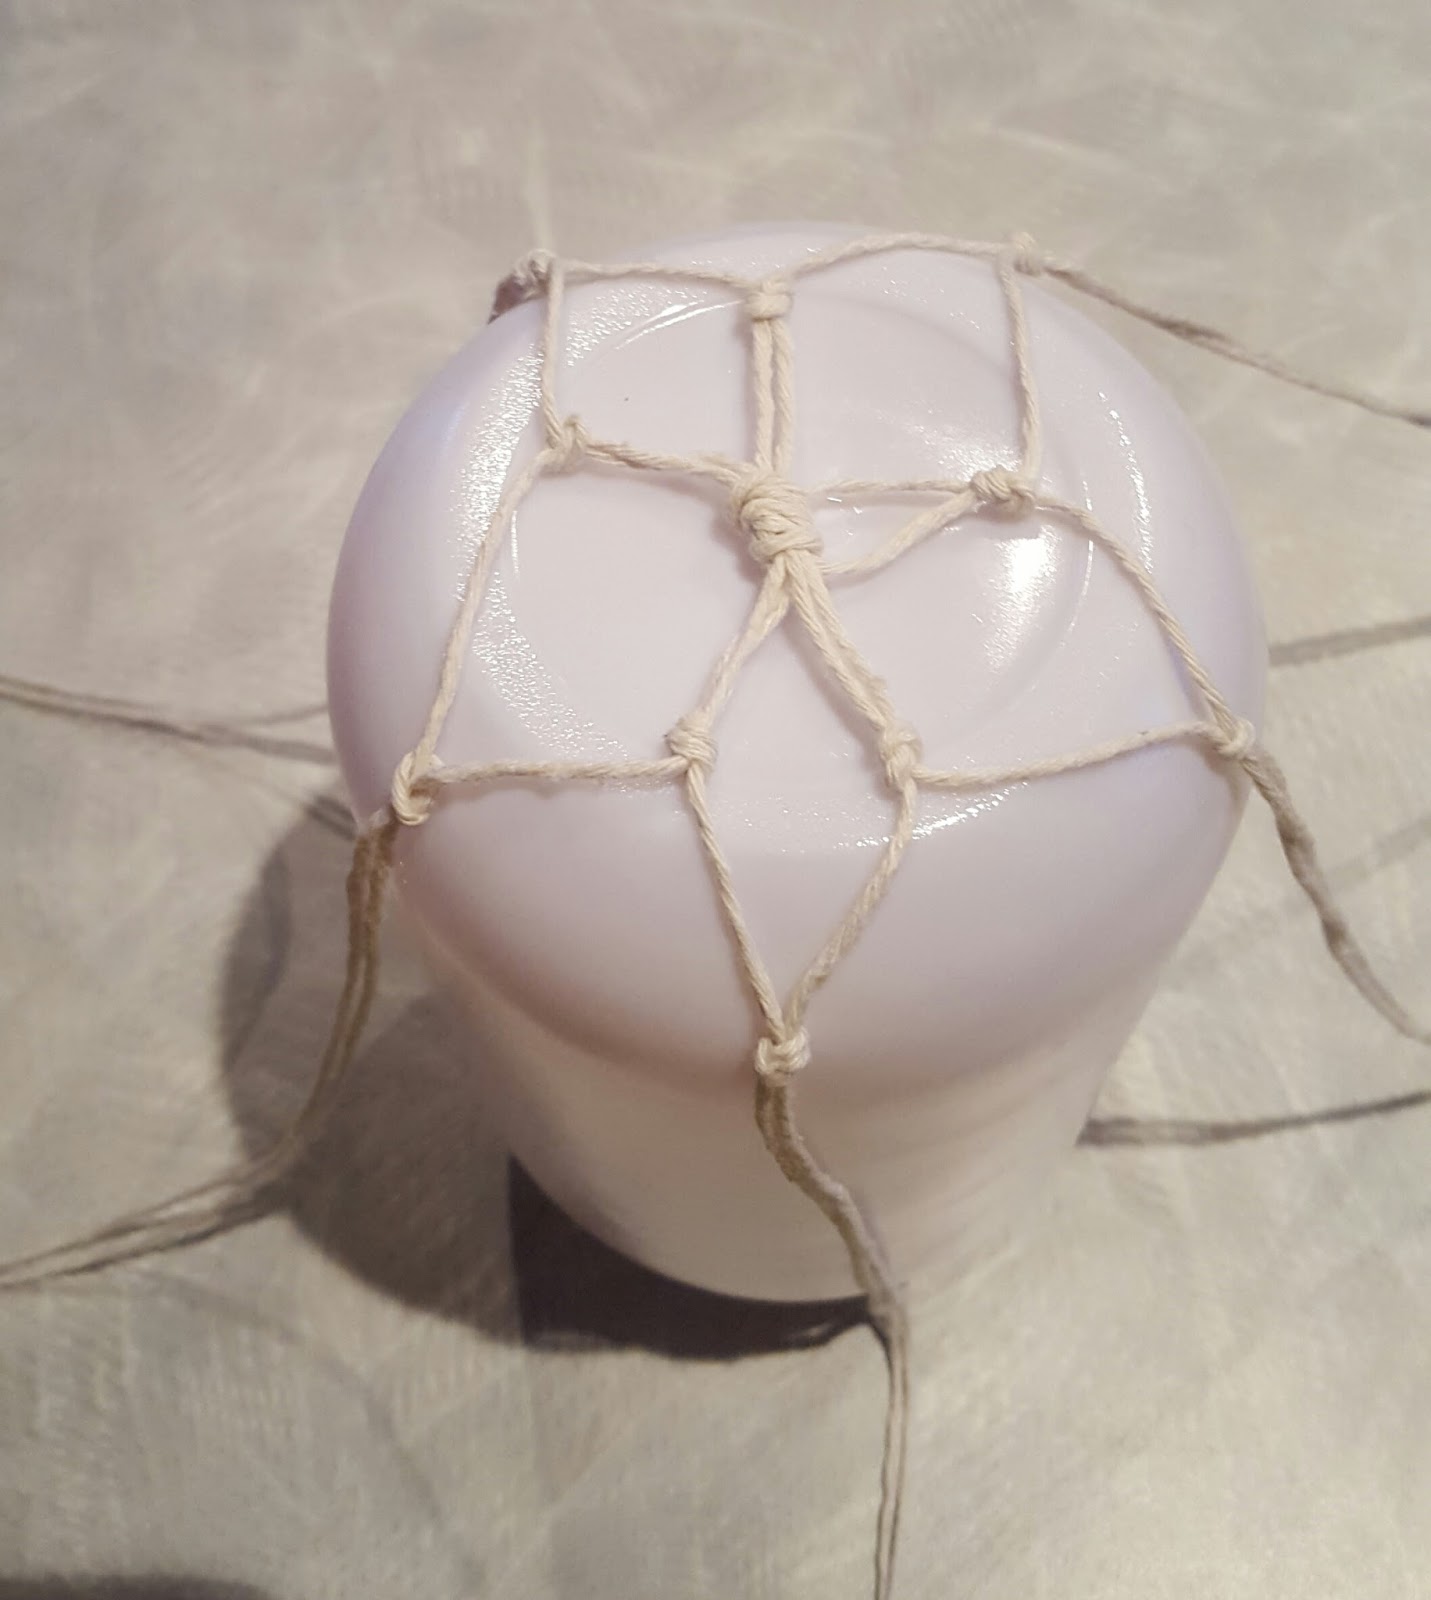
It should look like this :-
Now pair up 1 string from each knotted set and tie them together so you get a diamond shape. Repeat another 4 times with each pair of twine.
Place this over the bottom of the Mason Jar.
It is probably best to tape it in place. (Serena had me to help her hold it in place) now repeat the above steps of pairing and tying around the side of the Mason Jar so it’s a firm fit.
Once you macramé twine all around the jar until you reach to the top of the Mason Jar, divide the twine length into two groups (5 in each group) and tie them together.

 Now you can simply plat both of the groups of the twine for the hanging handles to the length you want. Tie the two platted handles together and its now ready to hang !! 


Wednesday 23 December 2015

Gingerbread Men


Gingerbread Men
 

We made this very easy gingerbread recipe from Best Recipes.  http://www.bestrecipes.com.au/recipe/gingerbread-men1-L5229.html

Serena loves cooking - mixing, stirring, licking, rolling the dough, licking, cutting the shapes, licking and not cleaning up!!


After they were out of the oven and cooled down I let her go for it with the icing!!
We used the pre-bought icing in a tube so it was very easy for little hands.
 
 As you can see some are ‘very well’ iced !!

These gingerbread men are each representing a member of our family and 2 aliens - I'll let you work out who's who!!
 
 
We cheated and bought a gingerbread man house kit that Serena put together. (We even put some of our gingerbread men inside)
 
Christmas we are ready for you now !!


Monday 21 December 2015

Pinecone Trees


Pinecone Trees


I got the idea from madhatters_sweetiepies on  Instagram and knew that I just had to make them with Serena.


All you need is pinecones, spray paint, toilet rolls (cut into 4 rings), little pompoms, bling and a hot glue gun.


I spray painted some of the pinecones and toilet roll rings silver, others purple (as that’s Serenas colour) and let them dry for a day.


The next step was to glue the little pompoms onto each pinecone limb. I found it easier to put the glue onto the pinecone limbs then the pompom onto it, but Serena found it easier to put glue onto the individual pompoms.


We even used ‘Bling’ on some of the pinecones too!!

 
The last step was to glue the pinecones onto the cut toilet rolls rings……….
Now we have our little trees
 
 
Serena has used all the trees as a forest for her little Zelfs and their friends!! (I thought that they were going to be Christmas decorations !!)


Saturday 19 December 2015

2 Min No Sew Skirt


2 Minute No Sew Skirt!!

This skirt is even easier than the dress we made last time (and just as if not more effective!!)


All you need is a long sleeve t-shirt


Step into the t-shirt through the neck
 
Now tie the sleeves into a bow at the front.


Da Ta Dar…… a new skirt (and you can still wear the shirt in winter!!)


Wednesday 16 December 2015

5min No Sew Dress


5 Minute No Sew Dress !!

We are having fun with one of Dads old shirts!!

There are 2 way you can wear this dress/old shirt - with a straight neckline (buttons at the back) Or with a sweetheart neckline (button down the front)

DRESS NO 1 – Straight neckline (button down the back)

First step is to slip on the old shirt up to your armpits without putting your arms into the sleeves (make sure the buttons are going down the back) You will need to leave the top 2 or 3 buttons undone.

Now just tie the sleeves into a bow at the back!!

This style gives the dress a straight front neckline from the collar of the shirt.

(we did tack on some clear shoulder elastic to help keep the dress from slipping!)

DRESS NO. 2 – Sweetheart Neckline (buttons at the front)

Again slip on the dress to your armpits with the buttons at the front. The top 2-3 buttons will have to be undone. This gives the dress a sweetheart neckline!!

 
Now just tie the sleeves into a bow at the front!!

(again we did tack on some clear shoulder elastic to help keep the dress from slipping!)
 
How easy are these!!